
When you need to create a table, there are several things you will need to keep in mind to ensure your table is accessible to all of your readers especially if this will be used by students. In this article, we will take a look at how to assign a header row and title, how to check reading order, and what to avoid when creating a table.
Generally speaking, keeping the table as simple as possible is the first step to ensure that it’s accessible. Tables should be limited to simple data or other information that can be logically displayed in this format, such as a schedule.
Non-sighted Users Considered
Sighted users can quickly identify column headers and use them to interpret the table but for those who can’t see the table however, we need to include non-visual formatting with the column headers so they can interpret the table too.
Column headers that are properly formatted provides structure in tables in the same way that heading styles provide structure in the text of the document. They provide information necessary to navigating the table for assistive technology users and in fact, using formatted column headers also benefits sighted users.
In some cases, even if you added formatting that is helpful to assistive technology users, the table itself might not look any different prior to when it was formatted. For example, adding this formatting also tells word to repeat the header row at the top of the next page if there’s a page break.
Every table benefits from having a descriptive title or summary that explains why it’s there. The purpose is to provide the reader with a context for understanding the information contained in the table and this is especially important for non-sighted users. The title or summary will be most helpful by placing it so it is read before the table.
Rather than using space bar or the tab key to piece together a table, you can use your content authoring software’s built-in tools that allow you to create a structured table.

For example, on Microsoft Word’s Insert tab, you can use the Table command to create a table of any size. To help identify the expected contents of the table, provide a title. In Microsoft Word, you’ll provide a title through the Insert Caption feature. To access it, select the table, right-click, and select Insert Caption.
Let’s say you table will include weekly assignments and readings. That’s what you’ll type next to Table 1 and when you click on OK, the title will appear above the table.
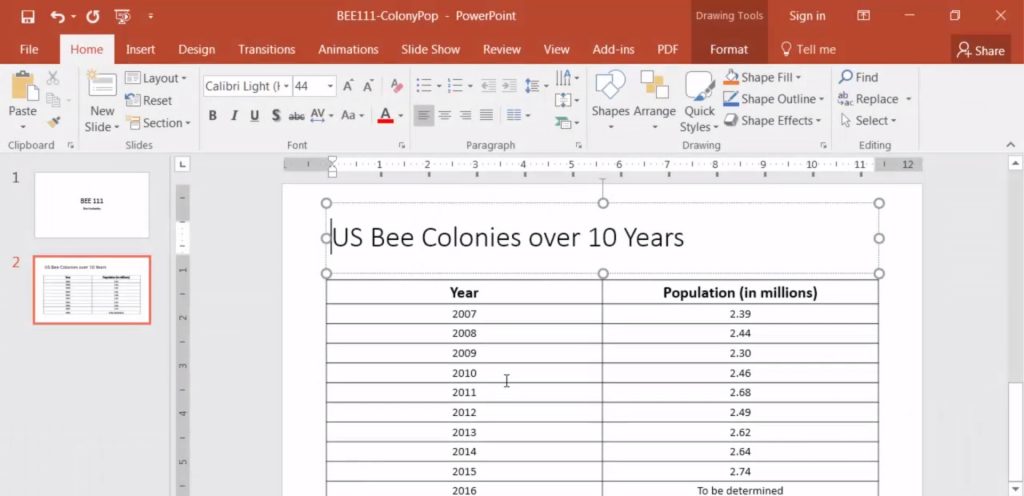
In PowerPoint, you can use the slide’s title placeholder to indicate a table is appearing on the slide. Identifying the table’s header row helps to orient a screen reader user by identifying the table’s column titles.
In Microsoft Word, the header row is a feature that also comes in handy when your table extends beyond one page. When that happens, the header row will be repeated at the top of the next page, making it easier to reference the column titles.
To create a header row in Word, highlight the first row and right-click. Next, select Table Properties and then the Row tab. Check the box next to Repeat as header row at the top of each page and then we’ll close the dialog box.
As you populate your table, make sure to use all of the cells and avoid merging or splitting cells. If you need to leave a cell blank, type the word blank or another indicator that makes sense in the context of the table, such as “To Be Determined”. This will help a screen reader user avoid becoming disoriented while navigating the information in your table.
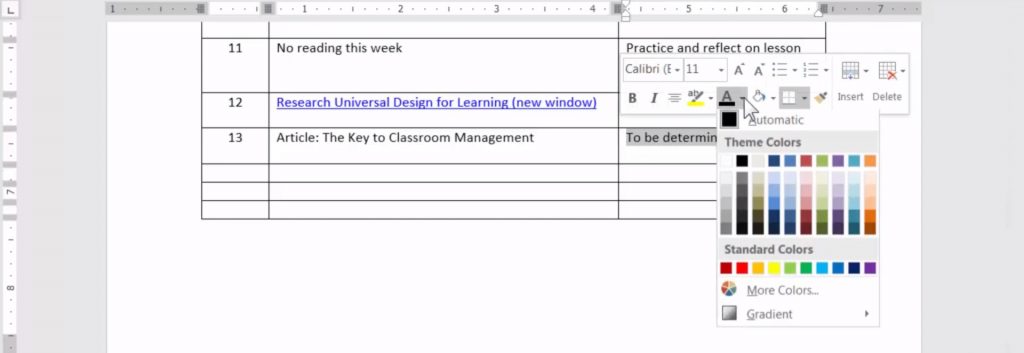
If desired, you can visually hide this text by changing its color to match the background. It’s still there for the screen reader user but appears as a blank cell for other students.
After you’ve finished entering information into your table, it’s a good idea to check the table’s reading order. The contents should make sense when read left to right and top to bottom.
To check the reading order, place the cursor in the first cell and then press the tab key on your keyboard. The focus should move to the next cell to the right. That’s the expected behavior. To make sure that the cursor moves to the right and then down to the next row, pull tab a few more times. If it does, then your table has proper reading order.
Here’s a very informative video that demonstrates how to create accessible tables:
When you need to structure information or data into a table, creating a header row and title, avoiding blank, merged, or split cells, and checking the reading order will ensure the information in your table is available to all of your students.


Add Comment