When you hear about 508 compliance, this is particularly about Section 508 of the Rehabilitation Act. This requires federal agencies to make all electronic information including documents and PDFs accessible to people with disabilities. It also provides technical standards and performance criteria to help guide people in creating compliant documents.
For most of us, this means making our documents compatible with assistive technologies. These are screen readers or magnifiers that help people access the document. If you are creating documents for the federal government either as a contractor or as an agency, your documents must be 508-compliant.
In this article, we’ve provided the technical standards exactly as they’re written in the Rehabilitation Act. These are the guidelines to follow as you are creating 508-compliant documents but rather than walking through each of these, we’ve created a number of steps that you can follow to achieve these standards and make your documents compliant.
508 compliance boils down to 2 things:
Good document structure
This means one that is laid out logically that moves from headings to text to exhibits in a logical fashion, which allows screen readers to read the document in the right order.
Alternative text
This is also known as alt text and these are used for any information that is presented visually so any graphs, tables, images, graphics or diagrams must have alternative text that describes what the visual is showing so that a reader can understand it without ever actually having to see it.
We have prepared a few steps that help us break down the technical standards and achieve and 508 compliance.
1. Document structure
A good practice for 508 compliance is to start from the original source document and from the setting up of the document structure.
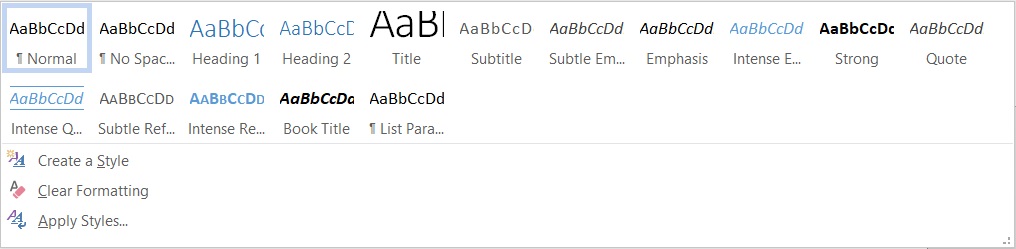
First, you’ll want to use the Styles tool in Microsoft Word which allows you to structure your heading styles adding 1, 2, 3, and normal text which is just your average paragraph block. You can adjust those styles, then highlight the text, and click on that in order to apply the styles. This means not manually formatting each heading but rather selecting the text applying a pre-outlined heading style.
For each of the default styles in there, you can also right-click the style and select modify to change the default settings for that style.
2. Automatic formatting
Using automatic features rather than manually formatting things like bullets, numbers, etc., Microsoft Word has automatic features for all of these things.
For example, if you double-click on the headers or footers, it opens up a box where you can format that for every page rather than manually doing it for each page.
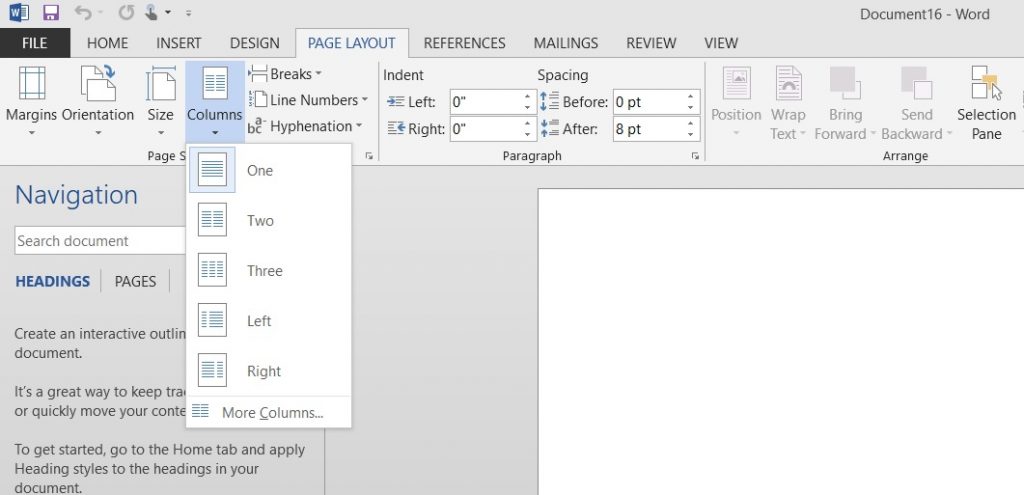
Additionally, tables can be inserted rather than manually drawn. There is a columns feature rather than using spaces or tabs to try to format your text so all of these automatic features are built in the proper code for assistive technologies to accurately read them.
3. Creating alternative texts
The next step is creating alternative text for any graphics or images that you have in your document. First, if you’ve created a graphic in Word with multiple elements, you’ll want to select all of those elements and group them into one image. You’re simply importing any image from another program from a file and it will already be one image.
Second, you will right-click the graphic or image and select Size and Alt Text to open up an Alternative Text box where you need to fill in the text that either describes the image or replicates text in any graphics.
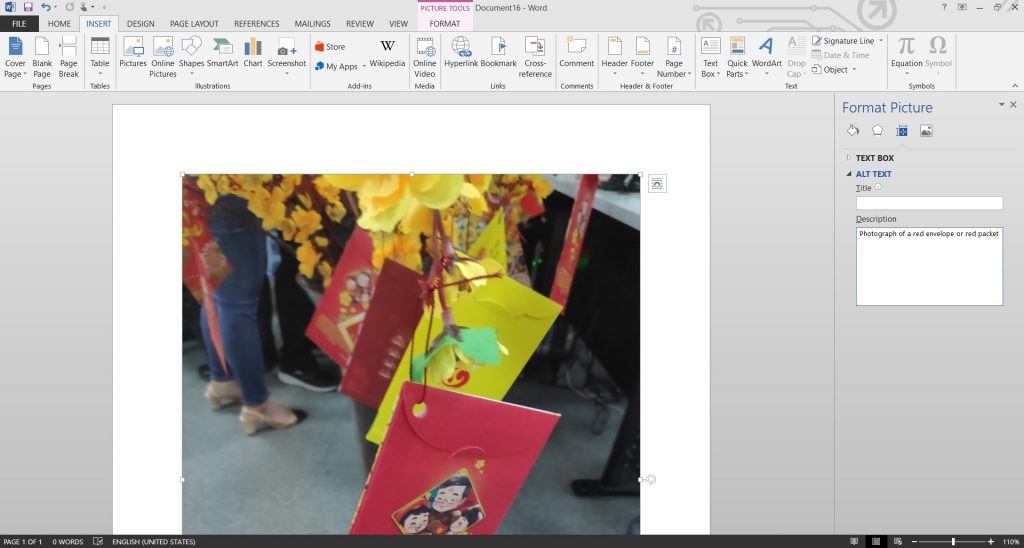
Let’s get an idea of what your alt text should look like. For a photo, it should simply describe what’s going on in the image. The figure graph that conveys information that is that is not conveyed in the surrounding text itself needs to have a brief description in the alt text box to convey that same information.
Similarly, any graph that uses a color to convey information like a stacked bar graph must present those actual figures in the alt text so that those colors do not need to be seen in order to understand what is being shown.
Another best practice is that for both text boxes and images, setting the figure in line with the text where possible rather than wrapping the text around the image helps screen readers to read the document in the correct order.
4. Create clear well-labeled tables
As mentioned earlier, using the tables feature on the insert tab will help you in automatically insert the correct table. There’s a couple things about tables in particular:
First, the top row needs to be tagged as the header row. This means that that is the first row that the screen reader will read and it also repeats a few table breaks across pages so that you continue to understand what each column or row is labeled as.
You also want to avoid allowing rows to break across pages so that information in one row or locks stays together.

We’ve provided the information on the screen on how to do each of these. Here, you’ll see that if you right-click the table and select table properties, you can see both of those dialog boxes to either allow the row to break across the page, which should be unchecked and then for the first row checking the designating the header row.
5. Adding document properties
This is adding the title, the author, the subject and any keywords into the document. To do this, select the Office button, hit Prepare then Properties to enter this information. The subject will simply be a short description and each keyword should be separated with a comma.
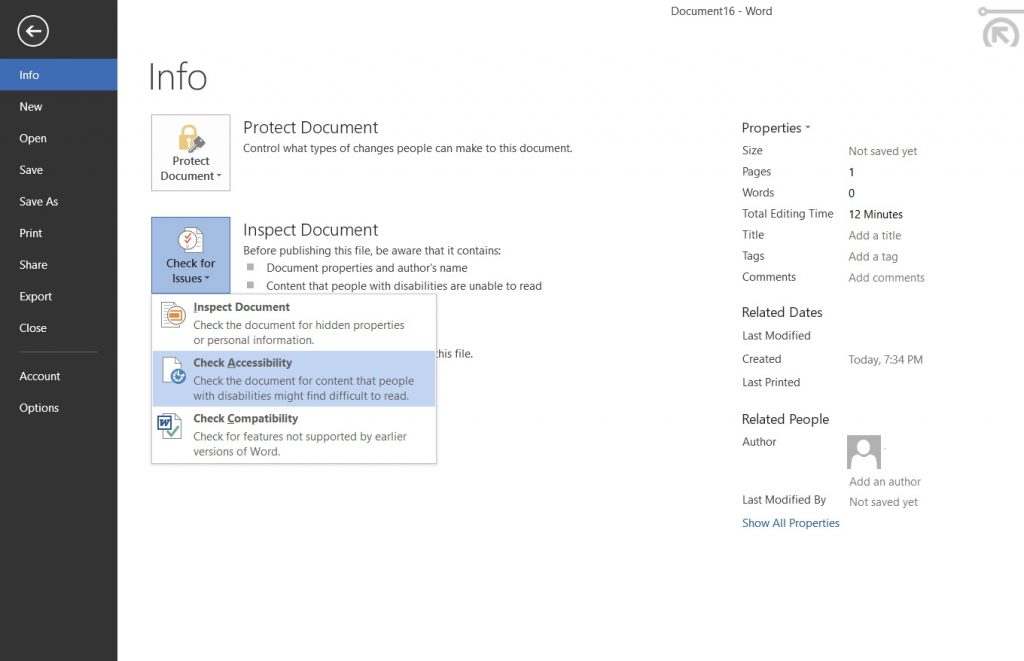
6. Using the Check Accessibility feature
If your Microsoft Word’s version is 2010 or higher, they’ve added a feature to check accessibility within the Word document before you’ve exported it to a PDF.
You can go to File Info, Check for Issues and then Check Accessibility and this will provide you with a brief overview of any accessibility issues that you can correct in Word before you make it a PDF.
7. Converting to PDF
Now you’re at the point where you want to convert the document to a PDF. It is important that you convert using the Acrobat tab within Word and not the Print or Save function as this will not create some of the accessibility code in the document that’s needed.
What you need to do is go to the Acrobat tab, select Preferences and match your settings to the setting on the screen.
Once you’ve selected the right preferences, you can hit Create PDF and then check your accessibility within the PDF which Adobe has created a great tool to do both a quick check and a full check to uncover any accessibility issues so that you can then go back into Word and make corrections before you re-PDF it.
8. Checking the PDF’s accessibility
Once you have your PDF, you can go to Tools and then Accessibility and perform your quick check or your full check depending on which version you have which will alert you to any of those issues. Sometimes, those can be corrected within the Adobe software if needed but it is much better practice to actually correct the issue within your Word document and then re-PDF it.
If you have the option to do a full check within Adobe, you’ll want to change your checking options to Section 508 before you start checking. In this way, you’re checking the document against the correct standards.
The full Accessibility Check will find issues and will tell you exactly where they are in the document and even recommend some fixes. But as we mentioned before, if it reveals that you forgot alt texts somewhere for example, or haven’t indicated the header row and a table, then your best bet is to go back to the Word document, fix it there and then re-PDF it.
And there you have it, you now have a PDF document or Word document that is 508-compliant!


Add Comment